Introduction Headless WordPress has gained popularity as a modern approach to building websites and applications. It involves using WordPress as a content management system (CMS) while decoupling the front-end presentation layer. In this tutorial, we will explore a low-code approach to creating a dashboard for a headless WordPress site. We will leverage low-code tools and …
Introduction
Headless WordPress has gained popularity as a modern approach to building websites and applications. It involves using WordPress as a content management system (CMS) while decoupling the front-end presentation layer. In this tutorial, we will explore a low-code approach to creating a dashboard for a headless WordPress site. We will leverage low-code tools and technologies to quickly build a functional dashboard that interacts with the WordPress backend.
Prerequisites
To follow along with this tutorial, you will need the following:
- A WordPress installation: Make sure you have a WordPress site set up either locally or on a server. You will need access to the WordPress backend for retrieving data.
- A headless CMS plugin: Install and activate a headless CMS plugin on your WordPress site. Some popular options include WPGraphQL or WP REST API.
- A low-code platform: Choose a low-code platform that supports building web applications with API integration. This tutorial will use Bubble.io as an example, but you can adapt the concepts to other low-code platforms as well.
Step 1: Designing the Dashboard
Before diving into the development process, it’s important to plan and design the dashboard. Identify the key functionalities and data you want to display in your dashboard. Consider the user interface (UI) and user experience (UX) aspects to ensure an intuitive and user-friendly design.
Step 2: Setting up the Low-Code Platform
Sign up for an account on the chosen low-code platform (in this case, Bubble.io). Create a new project and set up the required configurations.
Step 3: Connecting to the WordPress Backend
Connect the low-code platform to the WordPress backend using the available API integration capabilities. This typically involves providing the WordPress site URL and authentication details. Follow the platform-specific instructions to establish the connection.
Step 4: Building Data Sources and API Calls
Create data sources in the low-code platform that correspond to the WordPress data you want to retrieve. This may include posts, pages, categories, or custom post types. Configure API calls to fetch the desired data from the WordPress backend.
Step 5: Designing the Dashboard UI
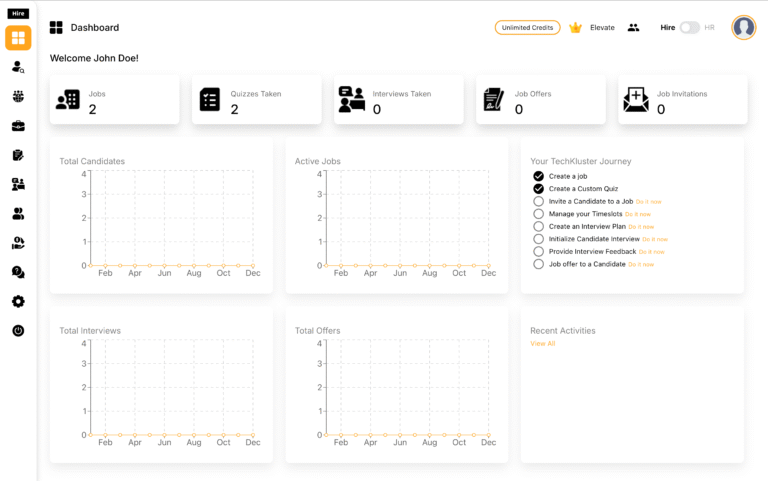
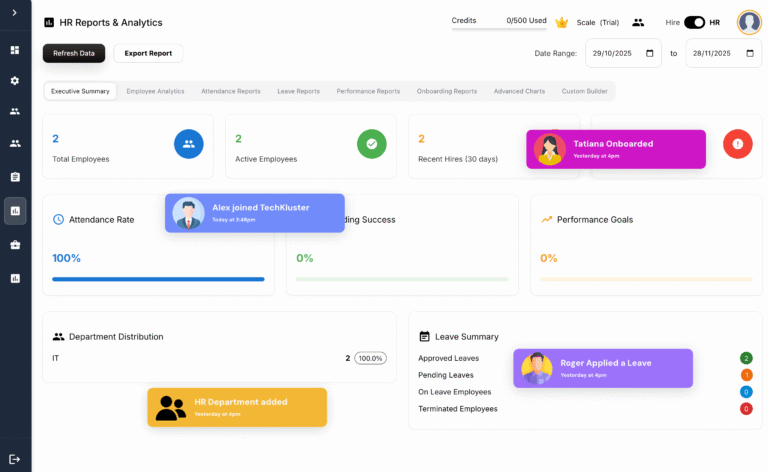
Use the low-code platform’s visual interface to design the dashboard UI. Drag and drop components to create the desired layout and structure. Use data bindings to populate the UI with the data fetched from the WordPress backend.
Step 6: Implementing Dashboard Functionality
Add interactivity and functionality to the dashboard components. This may include filtering and sorting data, displaying details of individual items, or implementing user actions such as creating or editing content in the WordPress backend. Leverage the low-code platform’s visual logic builder or scripting capabilities to implement these functionalities.
Step 7: Testing and Refining
Thoroughly test the dashboard to ensure that all functionalities are working as expected. Make any necessary refinements to the UI, data sources, or API calls based on user feedback or requirements.
Step 8: Deploying the Dashboard
Once the dashboard is complete and tested, deploy it to a hosting environment. The low-code platform may offer built-in deployment options or provide guidelines on how to export and deploy the application.
Next Steps and Enhancements
Once you have successfully built the low-code dashboard for your headless WordPress site, there are several next steps and enhancements you can consider:
- Customization: Tailor the dashboard further to meet your specific needs. Add additional features, modify the UI, or integrate with other third-party services to enhance functionality.
- User Authentication: Implement user authentication and role-based access control to secure the dashboard. This ensures that only authorized users can access and interact with the WordPress backend.
- Real-Time Updates: Explore options for real-time updates in the dashboard. Implement technologies like web sockets or server-sent events to provide live updates when new content is added or modified in the WordPress backend.
- Responsive Design: Ensure that the dashboard is responsive and optimized for different screen sizes and devices. This will provide a seamless user experience across desktop, tablet, and mobile devices.
- Performance Optimization: Optimize the dashboard’s performance by implementing caching mechanisms, lazy loading, or pagination for handling large amounts of data efficiently.
- Error Handling and Logging: Implement proper error handling and logging mechanisms to capture and handle any errors or exceptions that may occur in the dashboard. This will help in troubleshooting and maintaining the application.
- Analytics and Reporting: Incorporate analytics and reporting features into the dashboard to track and analyze user behavior, content performance, or other relevant metrics. This can provide valuable insights for content management and decision-making.
- Continuous Improvement: Continuously gather user feedback and iterate on the dashboard based on user needs and evolving requirements. Regularly update and enhance the dashboard to ensure it remains aligned with the goals of your headless WordPress project.
Conclusion
Building a low-code dashboard for a headless WordPress site allows you to leverage the power of WordPress as a content management system while having the flexibility to design a customized and interactive front-end experience. By using a low-code platform, you can rapidly create, deploy, and iterate on the dashboard, reducing development time and effort. With the ability to connect to the WordPress backend through APIs, you can retrieve and manipulate data, implement functionality, and provide a seamless user experience. By considering the next steps and enhancements, you can further enhance and optimize your low-code dashboard for your specific needs and requirements.


